Darkening Photo Edges In Photoshop
Here's an effect that I use quite often with my own photos to bring more attention to the main subject of an image or just to give photos a little more warmth and personality. Once you see how easy it is to create, I think you'll find yourself using it as much as I do.
We're going to learn how to darken or burn the edges of a photo, creating a vignette effect, and we're actually going to create the effect using a filter in Photoshop that was designed to remove such a "problem" from an image. In Photoshop CS2 (you'll need Photoshop CS2 or later to complete this tutorial), Adobe introduced us to the Lens Correction filter. This filter's main purpose is to help us remove common problems that can be created by camera lenses, such as barrel distortions, chromatic aberration and vignetting. It's a great addition to Photoshop's ever growing collection of photo editing tools, but there's no rule that says you have to use Photoshop the way the folks at Adobe intended. As we'll see, the same filter designed to remove dark edges from a photo also happens to be a great way to add them!
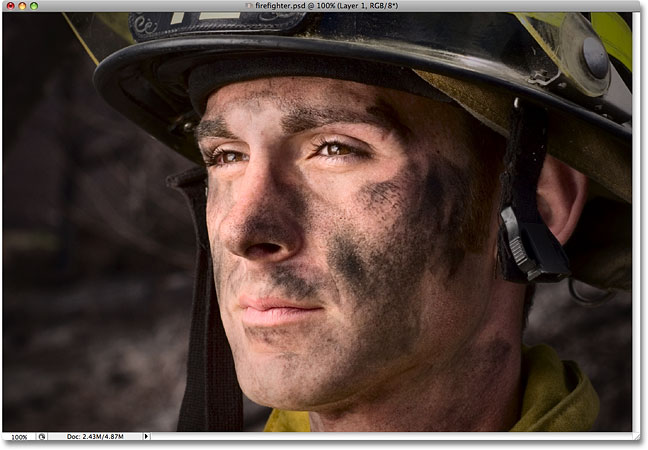
Here's the photo I'll be working with in this tutorial:
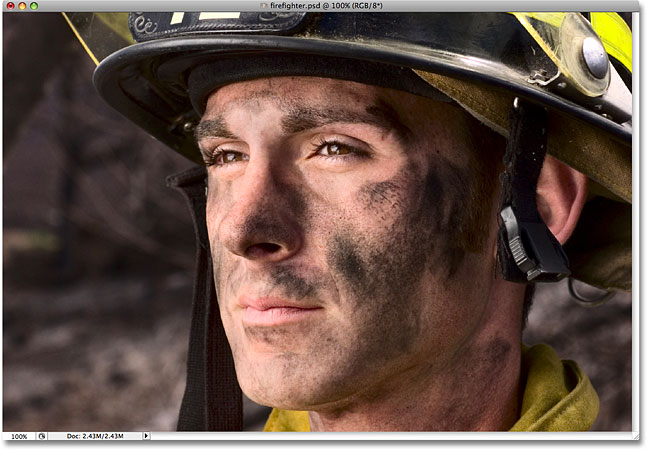
And here's how it will look after using the Lens Correction filter to quickly darken the edges. Even though it's a subtle effect, it can have a strong impact on the image:

How To Darken The Edges Of A Photo
Step 1: Duplicate The Background Layer
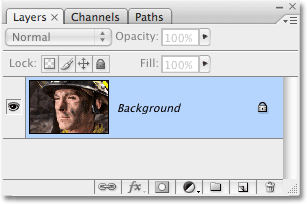
The first thing we need to do before we darken any edges is create a copy of our photo so that we don't damage our original pixel information. If we look in our Layers palette, we can see our photo sitting comfortably on the Background layer:
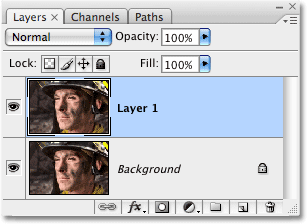
We need to create a copy of this layer, so go up to the Layer menu at the top of the screen, choose New, and then choose Layer via Copy. Or, for a much faster way, use the keyboard shortcut Ctrl+J (Win) / Command+J (Mac). Either way tells Photoshop to create a copy of the Background layer for us, and if we look again in the Layers palette, we can see that we now have a copy of the layer, which Photoshop has automatically named "Layer 1", sitting directly above the Background layer:
Step 2: Open The Lens Correction Filter
With "Layer 1" selected in the Layers palette (currently selected layers are highlighted in blue), go up to the Filter menu at the top of the screen, choose Distort, and then choose Lens Correction:
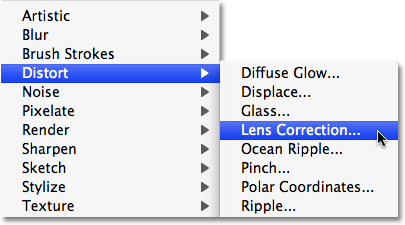
This brings up the rather massive Lens Correction dialog box which may look confusing if you've never used it before, but don't worry. For this effect, we only need to use a couple of the options found here.
Step 3: Turn Off The Grid
The most prominent feature in the Lens Correction dialog box is the large preview area, and by default, it's covered in a grid. We don't need the grid to darken our photo edges, so let's turn it off. Look down at the very bottom of the dialog box and you'll see an option that says Show Grid with a checkbox beside it. Click inside the checkbox to turn the grid off:

Step 4: Drag The Vignette Amount Slider To The Left To Darken The Edges
Most of the options for the Lens Correction filter are found in a column along the right side of the dialog box, and if you look closely, you'll see that the options are divided into various groups. You can safely ignore most of the options found here because there's only two of them that we need for darkening the edges of our photo and both are found in the Vignette group. Normally, these two options are used to remove unwanted vignetting caused by a camera lens, but we're going to use them to darken the edges of our photo.
The first option we're interested in is the Amount slider, which will determine how dark the edges become. The further you drag the slider to the left, the darker the edges. You can keep an eye on the preview area as you drag the slider to set the desired darkening amount, but in this case, I'm going to drag the slider all the way to the left to apply the maximum amount of edge darkening. Don't worry if this seems too dark for now. We'll see how to reduce the effect at the end of the tutorial:
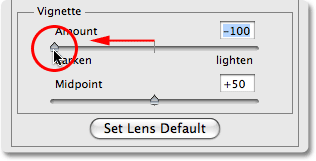
Here's my image after dragging the Vignette Amount slider all the way to the left. Notice how dark the edges have become, all by simply dragging that one slider:

Step 5: Adjust The Midpoint Slider
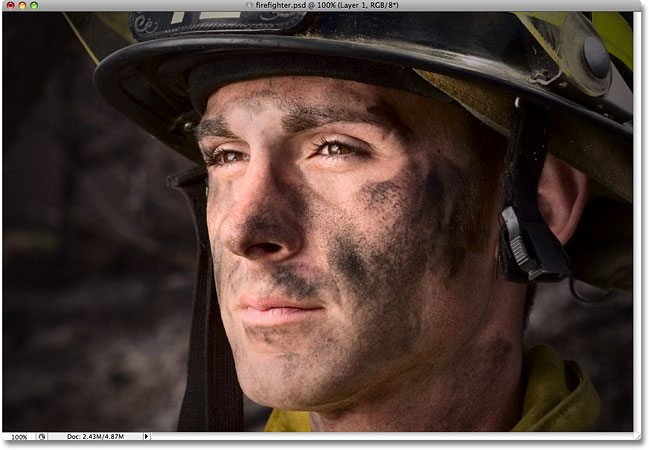
Directly below the Amount slider is the Midpoint slider. This slider determines how far the darkening effect will extend in towards the center of the image. Dragging the Midpoint slider all the way to the right will limit the darkening to just the corners of the photo, while dragging it all the way to the left will darken the entire image, although the center of the image will never appear as dark as the edges no matter how far you drag the slider. I want my edge darkening effect to extend a bit further in towards the firefighter's face so more of the background around him is darkened, so I'm going to drag my Midpoint slider a little to the left. You may or may not want to adjust this slider depending on your image:
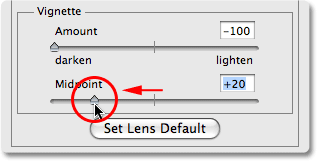
When you're happy with the results, click OK in the top right corner of the dialog box to close out of it. Here's my image with the darkening effect now extending further in towards the center of my photo:
Step 6: Fine-Tune The Effect By Adjusting The Opacity Of The Layer
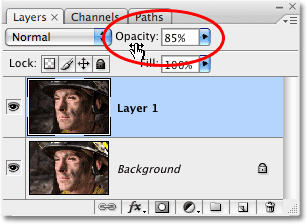
At this point, the effect is pretty much complete, but if you find that your edges are a little too dark, you can easily reduce the darkening amount simply by lowering the opacity of the layer. The layer Opacity option is located at the top of the Layers palette. By default, it's set to 100%. I'm going to lower mine to around 85% to lighten the effect just a little:
Here's my final edge darkening result after lowering the opacity to fine-tune the effect:
