
Mirror Image Effect With Photoshop
In this Photoshop tutorial, we're learn how to create a mirror image effect with a photo, turning the right half of the image into a mirror reflection of the left half. You've probably seen this effect used everywhere, especially in movie posters or album covers, and as with many of Photoshop's classic and most popular photo effects, it's very easy to create.
This version of our Mirror Image Effect tutorial is for Photoshop CS5 and earlier. For Photoshop CS6 and CC (Creative Cloud) users, check out our fully updated version.
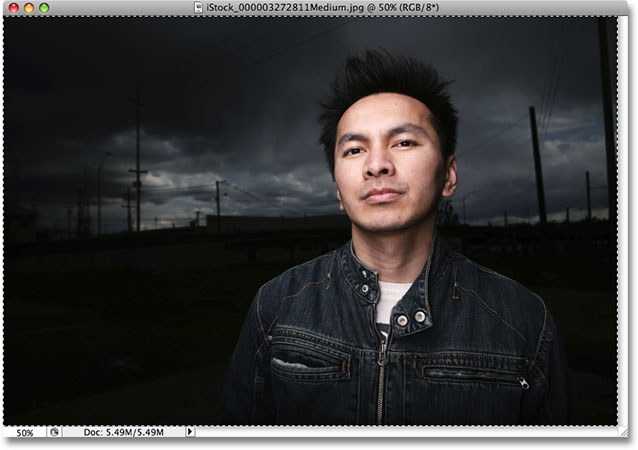
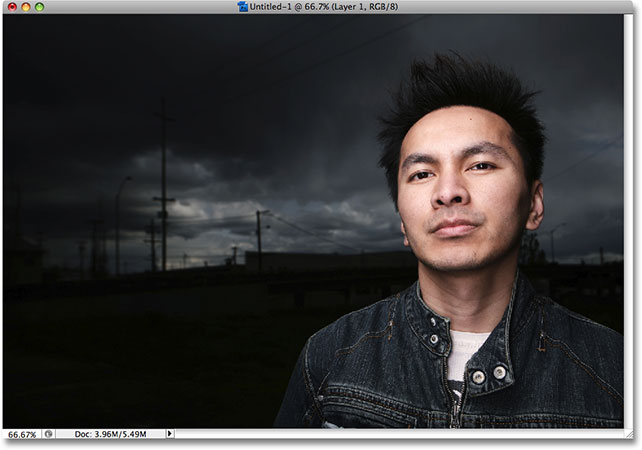
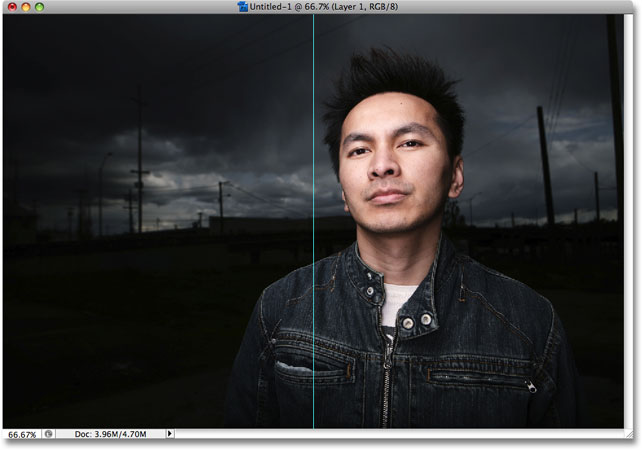
Here's the image I'll be using for this tutorial:

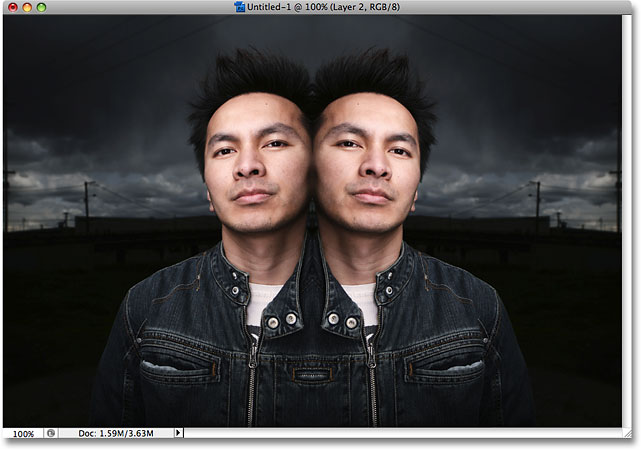
Here's how it will look when we're done:
How To Create A Mirror Image Photo Effect
Step 1: Create A New Blank Document
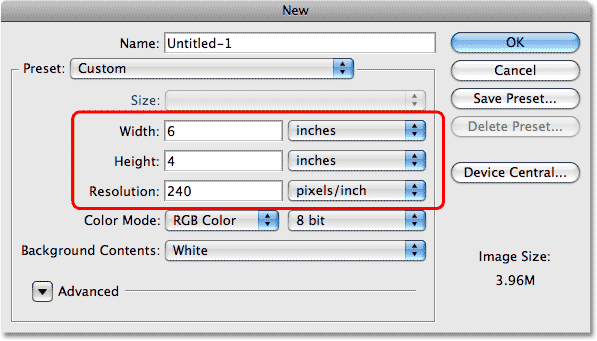
Rather than working directly on the photo itself, let's start things off by creating a new blank document. This will allow us to create our effect at any size we need rather than trying to work within the dimensions of the photo itself. Go up to the File menu at the top of the screen and choose New, or simply press the keyboard shortcut Ctrl+N (Win) / Command+N (Mac). Either way brings up Photoshop's New Document dialog box. Enter in the dimensions you need for your effect. For this tutorial, I'm going to enter in a standard size of 6 inches for the Width and 4 inches for the Height, but of course you can enter whatever dimensions you need. For the Resolution, I'll enter 240 pixels/inch, which should give me professional quality print results if I decide to print the image later. The most commonly accepted resolution for professional print results is 300 pixels/inch, but you'll often find that you can get away with less than that without any noticeably loss in quality. I typically use 240 pixels/inch with my images:
Click OK when you're done to exit out of the dialog box. A new blank document will appear on your screen.
Watch the video and share your comments on our YouTube channel!
Step 2: Select And Copy The Photo
Switch over to the document window that contains the photo you're working with. We need to move the photo into our new blank document. There's a couple of ways we can do this, but we'll use the classic "copy and paste" method. First, we need to select the entire photo. Go up to the Select menu at the top of the screen and choose All, or press the keyboard shortcut Ctrl+A (Win) / Command+A (Mac). This places a selection outline (also known as "marching ants") around the entire image in the document window:
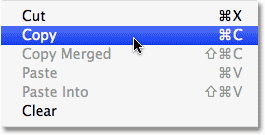
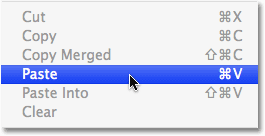
With the entire photo now selected, go up to the Edit menu and choose Copy, or press Ctrl+C (Win) / Command+C (Mac) for the shortcut. This places the entire image temporarily into your computer's memory:
Step 3: Paste The Photo Into The New Document
Switch back over to your new blank document. We're going to paste the photo into it. To do that, go back up to the Edit menu and this time, choose Paste. Or press the keyboard shortcut Ctrl+V (Win) / Command+V (Mac):
Photoshop will paste the photo directly into the new document:
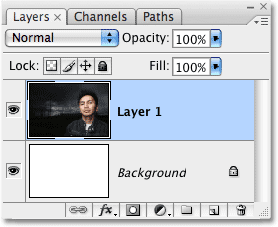
If we look in the Layers palette for the new document, we can see that our photo has been placed on its own layer above the Background layer. Photoshop has automatically named the layer "Layer 1":
You can close out of the original photo's document window at this point, since we no longer need to have it open.
Step 4: Resize And Reposition The Photo Inside The Document If Needed
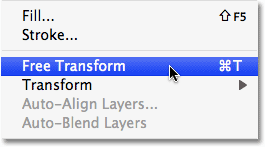
You'll probably find that the photo doesn't fit perfectly inside the new document. In my case, the photo is too big and part of it is extending out beyond the document's visible area. We'll need to resize it, and for that, we can use Photoshop's Free Transform command. Go up to the Edit menu and choose Free Transform, or press the keyboard shortcut Ctrl+T (Win) / Command+T (Mac):
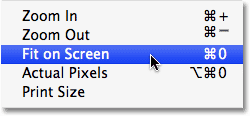
Either way brings up the Free Transform box and handles around the image. Unfortunately, since part of my photo is extending out beyond the document's visible area, I can't see all of the Free Transform handles. To fix that, I'll simply go up to the View menu at the top of the screen and choose Fit on Screen. I could also select the same option with the keyboard shortcut Ctrl+0 (Win) / Command+0 (Mac):
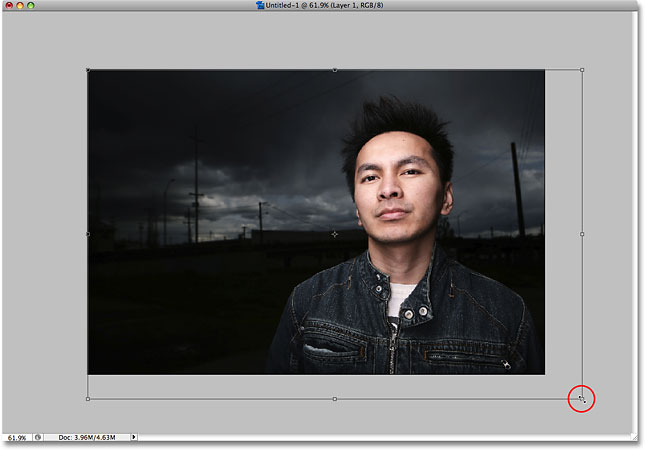
The Fit on Screen command zooms the image out far enough so that everything, including the Free Transform handles, are now visible inside the document window. To resize the image, hold down your Shift key, then click and drag any of the corner handles inward until you have as much of the image as you need inside the visible area. Holding down the Shift key as you drag constrains the aspect ratio of the image so you don't accidentally distort the shape of it. In my case, I'm going to click on the handle in the bottom right corner and drag it inward until the bottom of the photo lines up with the bottom of the visible area:
You can also move the image as needed to reposition it by clicking anywhere inside the Free Transform box and dragging the image around. Just don't click on the small target symbol in the center of the Free Transform box, otherwise you'll move the target symbol, not the image. When you're done, press Enter (Win) / Return (Mac) to accept the changes and exit out of the Free Transform command.
To zoom the image back in so it once again fills up the entire document window, simply choose Fit on Screen again from the View menu just as we did a moment ago. You can also select Actual Pixels from the View menu, which will zoom the image to a full 100%. The keyboard shortcut for Actual Pixels is Ctrl+Alt+0 (Win) / Command+Option+0 (Mac).
Step 5: Add A Vertical Guide Down The Middle Of The Document
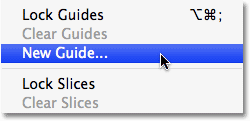
To create our mirror image effect, we first need to move everything that we want to "mirror" over to one side of the document. In my case, I need the guy in my photo to be over on the left side. To help me decide exactly how far to the left I need to move him, I'm going to add a guide down the middle of the image. Go up to the View menu at the top of the screen and choose New Guide:
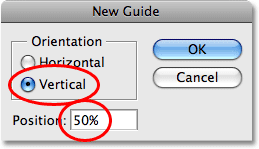
This brings up Photoshop's New Guide dialog box. Select Vertical for the Orientation so that the guide runs up and down the image rather than left to right. Then enter 50% for the Position option so that it runs down the exact center of the document:
Click OK when you're done to exit out of the dialog box, and Photoshop will add a new guide straight down the center of the document:
Don't worry about the guide appearing in front of your image. It's there only to help us while working in Photoshop. Guides are known as "non-printing elements", which means they won't print, or appear if you save the image for the web, even if you forget to remove them when you're done.
Step 6: Drag Your Main Subject To One Side Of The Document
Think of the guide we just added as the "flip point" or "mirror point" for the effect. In other words, everything that we place on one side of the guide will appear mirrored on the other side of it. Of course, before we can mirror anything, we first need to move everything we want to mirror over to one side of the document. Select the Move tool from the top of the Tools palette, or press the letter V to quickly select it with the shortcut:
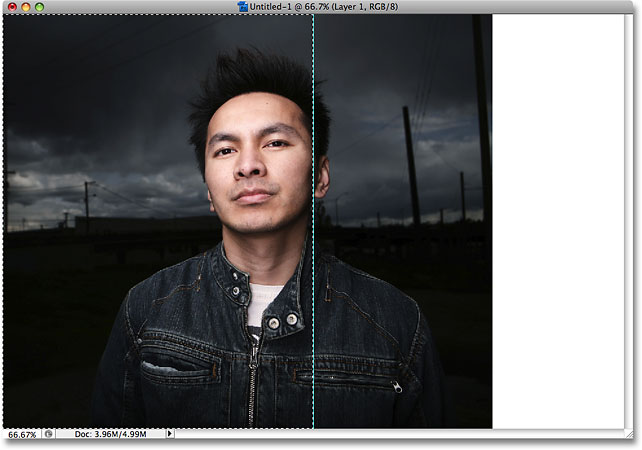
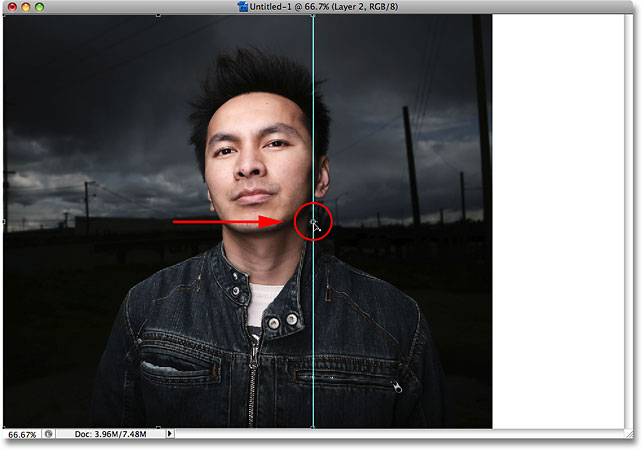
Then, with the Move tool selected, click anywhere on the image and drag it left or right until everything you want to mirror is on one side of the guide. Hold down the Shift key as you drag, which will force the image to move only left or right, preventing you from accidentally moving it up or down. In my case, I'm going to drag the guy in my photo over to the left of the document just to the point where the bottom part of his ear touches the side of his face. This is going to be the "flip point" for my effect:

Don't worry about the solid white area that's now appearing on the side of the photo. Everything on that side of the guide will be replaced with a mirrored version of what's on the other side in a moment.
Step 7: Drag A Selection Around The Side You Want To Mirror
Select the Rectangular Marquee Tool from the top of the Tools palette, or press the letter M to select it with the keyboard shortcut:
Then, with the Rectangular Marquee Tool selected, drag a selection around the entire half of the document that you want to mirror. In my case, I'm going to drag a selection around the left half of the document. You'll find that your cursor will snap to the guide once you're close enough to it (as long as you have both the Snap and Snap to Guides options enabled in the View menu at the top of the screen). When you're done, you should have a selection outline around the entire half of the document that you're going to mirror:
Step 8: Copy The Selection To A New Layer
With the side that's going to be mirrored now selected, go up to the Layer menu at the top of the screen, choose New, and then choose Layer via Copy. Or press the keyboard shortcut Ctrl+J (Win) / Command+J (Mac):

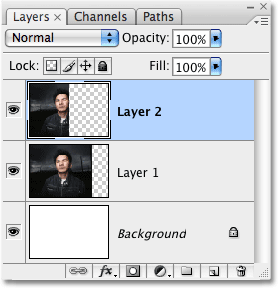
This creates a copy of the selection and places it on a new layer directly above the previous layer. Nothing will seem to have happened in the document window, but if we look in the Layers palette, we can see that we now have a new layer named "Layer 2", and if we look in the layer's preview thumbnail to the left of the layer's name, we can see that the layer contains a copy of the side of the document we had selected:
Step 9: Flip The Left Or Right Side Of The Document Horizontally
To create our mirrored image effect, all we need to do at this point is flip the half of the document that's on "Layer 2" horizontally. Before we do that, though, we need to tell Photoshop that we want to use the vertical center of the document (where the guide is) as the "flip point". To do that, press Ctrl+T (Win) / Command+T (Mac) to quickly bring up Photoshop's Free Transform command once again. You'll see the Free Transform box and handles appear around whichever side of the document you copied to "Layer 2". In my case, it's the left side. See that little target symbol in the center of the Free Transform box, the one I told you not to click on earlier:
That target symbol represents the rotation point for the Free Transform command. By default, it's located in the center of the Free Transform box, but we can move it anywhere we want. Wherever we move it to becomes the new rotation point. To tell Photoshop that we want to flip the image along the guide, simply click on the target symbol and drag it over to the side handle that's sitting directly in the middle of the document. Once you get close enough to the handle, the target symbol will snap to it:
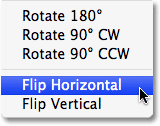
With the Free Transform command still active, go up to the Edit menu at the top of the screen, choose Transform, and then choose Flip Horizontal:
Photoshop flips the contents of "Layer 2" for us, using our newly repositioned target symbol as the rotation point, and the right half of the document now becomes a perfectly mirrored copy of the left half (or vice versa):
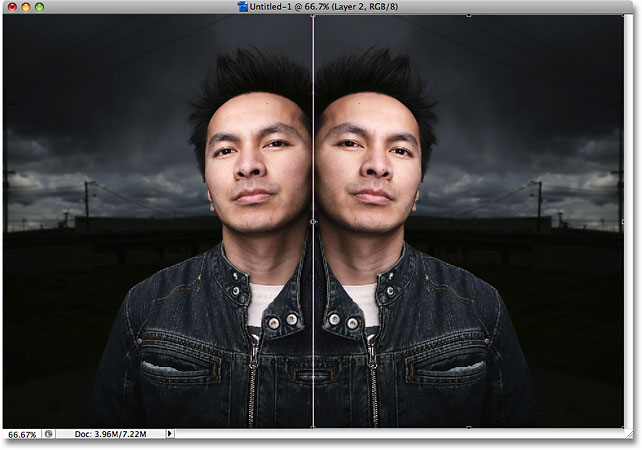
Press Enter (Win) / Return (Mac) to accept the transformation and exit out of the Free Transform command. We don't need our guide anymore, so go up to the View menu and choose Clear Guides:
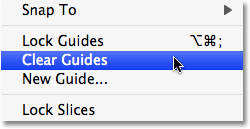
As I mentioned earlier, even if you forget to clear your guides when you're done working on the image, there's no need to worry because they won't print and they won't appear in the image if you save it for the web.
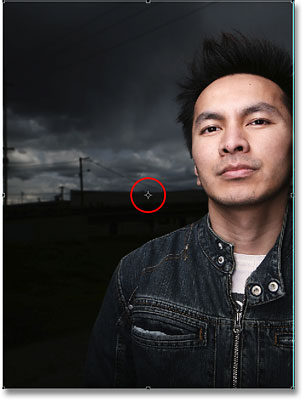
And with that, we're done! Here, after just a few simple steps, is our completed "mirror image" effect: