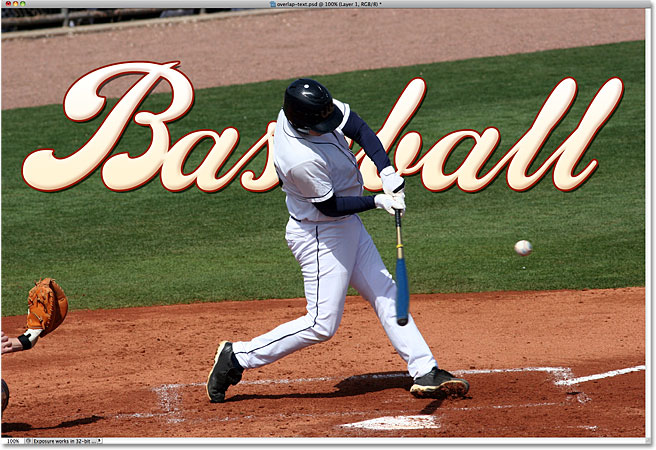
Overlapping Text With An Image In Photoshop
Every month, as the latest issues of magazines plaster images of models, movie stars, athletes, politicians, and other famous folks across their covers, we see this effect where the top of the person's head appears to overlap the name of the magazine.
This popular "overlapping" effect has been around for years and in this Photoshop tutorial, we'll see how the simple use of layers makes recreating the effect incredibly easy! I'll be using Photoshop CS5 here but any version of Photoshop will work.
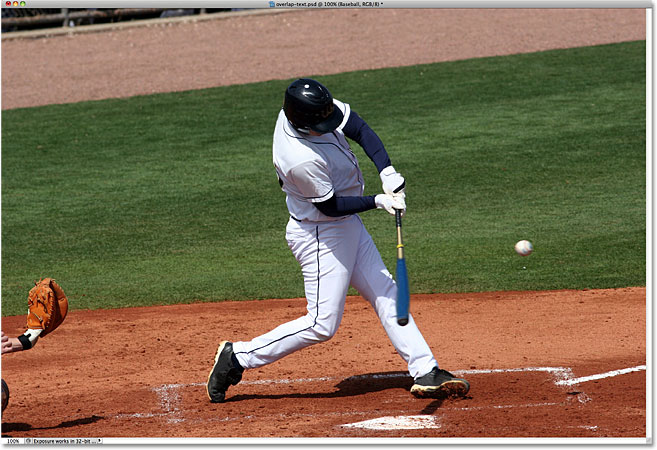
Here's the photo I'll be using for this tutorial:
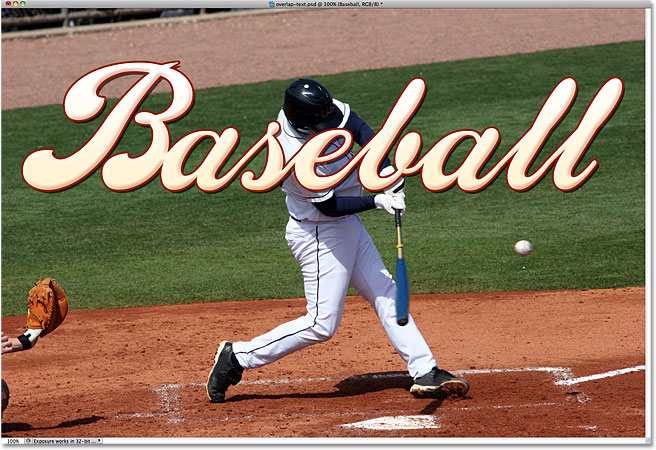
And here's how it will look after adding some text behind the ball player:

How To Overlap Text With An Image
Step 1: Add Your Text
Select the Horizontal Type Tool from the Tools panel, or press the letter T on your keyboard to quickly select it with the shortcut:

With the Type Tool selected, choose your font type, style, size, and color from the Options Bar along the top of the screen, then click inside the document window and add your text. I'm going to type the word "Baseball". I've added a few layer styles just to give my text a bit more of a design, but of course the appearance of your text is completely up to you:
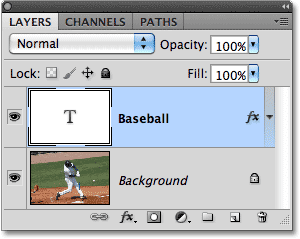
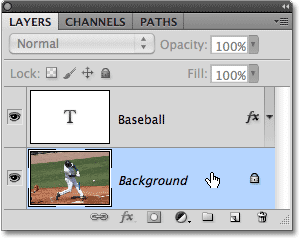
Notice how the text is currently blocking the image from view, and that's because if we look in the Layers panel, we see the text layer sitting above the image on the Background layer. A layer above another layer in the Layers panel appears in front of the layer in the document window:
Step 2: Select The Background Layer
Click on the Background layer in the Layers panel to select it. It will appear highlighted in blue, letting us know it's now the active layer:
Step 3: Select The Area That Will Overlap The Text
For this effect, I want the baseball player to appear in front of the word "Baseball", which means I'll need to select him. Since the text will make it difficult to select the area we need, let's turn it off temporarily by clicking on the layer visibility icon (the eyeball) on the left side of the text layer in the Layers panel. The text will disappear, leaving only the original image in the document window:
As I mentioned, I want the baseball player to appear in front of the text, but since the text was only blocking the top half of him from view, there's no need to select all of him. We only need to select the area that will actually overlap the text. Use the selection tool of your choice (Lasso Tool, Magnetic Lasso Tool, Pen Tool, etc.) to draw a selection outline around the area you need. Here, I've selected the area from the top of his helmet down to his waist. I can ignore the rest of him since it falls below where the text will appear:

Step 4: Copy The Selected Area To A New Layer
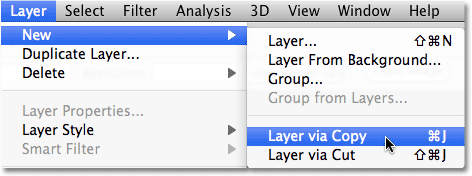
With the selection in place, go up to the Layer menu at the top of the screen, choose New, and then choose Layer via Copy. Or, press Ctrl+J (Win) / Command+J (Mac) on your keyboard for the shortcut:
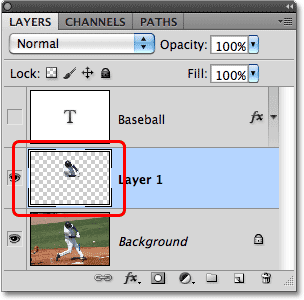
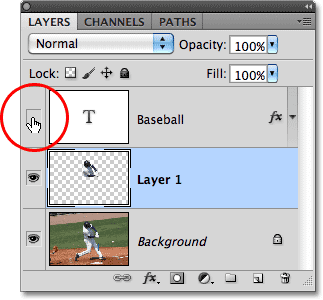
Nothing will appear to have happened in the document window, but if we look again in the Layers panel, we see that the selected area has been copied onto a new layer ("Layer 1") between the text layer and the Background layer. We can see the area that's been copied by looking in the new layer's preview thumbnail to the left of the layer name:
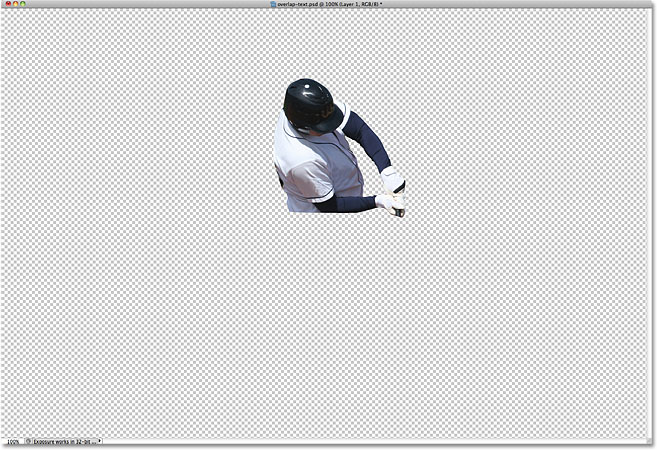
To get a better view of exactly what's been copied to the new layer, hold down your Alt (Win) / Option (Mac) key and click on the layer visibility icon for Layer 1. This will temporarily hide all layers except Layer 1 in the document window, showing us what's on the layer. In my case, only the top half of the baseball player appears. The checkerboard pattern surrounding him is Photoshop's way of representing transparency, meaning there's nothing else on the layer. When you're done, hold down Alt (Win) / Option (Mac) and once again click on the layer visibility icon for Layer 1 to return to the normal view:
Step 5: Turn The Text Layer Back On
Click on the text layer's visibility icon in the Layers panel, which will turn the text back on in the document window. For the moment, it will still appear in front of the image, but we'll fix that next:
Step 6: Drag Layer 1 Above The Text Layer
Since a layer above another layer in the Layers panel appears in front of the layer in the document window, all we need to do now is move Layer 1 above the text layer. Click on Layer 1 in the Layers panel and drag it up above the text layer, releasing your mouse button to drop it into place. The text layer should now appear sandwiched between Layer 1 and the Background layer:
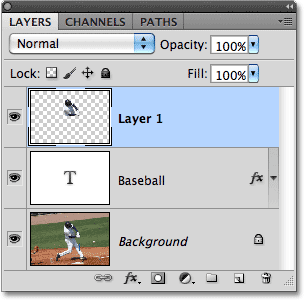
With the top half of the baseball player now moved above the text layer, he appears in front of the text in the document window:
