
Turn Any Photo Into A Background With Photoshop
In this Photoshop Effects tutorial, we're going to learn how easy it is to turn any photo into an interesting background using a couple of basic selection tools in Photoshop that, quite honestly, seem to serve no other purpose other than helping us to create this effect. I'm talking about the Single Row Marquee Tool and the Single Column Marquee Tool, which by default are hiding behind the Rectangular Marquee Tool in the Tools palette. Even Adobe doesn't seem to consider them very useful, since they're two of only a handful of tools in the Tools palette that don't have a keyboard shortcut associated with them. Yet as we'll see in this tutorial, when it comes to creating simple backgrounds or wallpaper in Photoshop, these two selection tools are hard to beat.
At the end of the tutorial, we'll see how we can easily combine our newly-created background with the same photo we created it from, which gives us a nice effect since the background and the photo share the same colors.
You can use this technique to turn any photo into a background or wallpaper. The photo itself will be unrecognizable when you're done, so it really doesn't matter which photo you use. The only thing you may want to take into consideration is how colorful you want your background to be. The more colorful the photo, the more colorful the background.
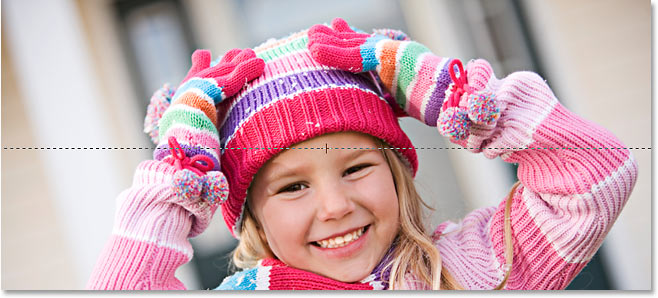
Here's the photo I'll be using:

Step 1: Duplicate The Background Layer
As always, we want to avoid doing any work on our original image, so before we do anything else, we need to duplicate our Background layer. To do that, use the keyboard shortcut Ctrl+J (Win) / Command+J (Mac). If I look in my Layers palette, I can see that I now have two layers - the Background layer on the bottom which contains my original photo, and "Layer 1", which is a copy of the Background layer, above it:
Step 2: Select The Single Column Marquee Tool
In the Tools palette, click and hold your mouse down on the Rectangular Marquee Tool. After a second or two, a fly-out menu will appear, showing you all the tools that are hiding behind it. Select the Single Column Marquee Tool from the bottom of the list:

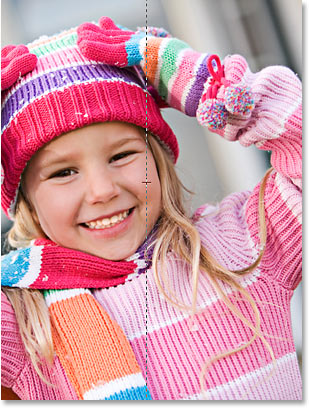
Step 3: Click Inside The Image To Select A Single Column Of Pixels
The Single Column Marquee Tool gets its name from the fact that it does one thing and one thing only - it selects a single column of pixels. Click anywhere inside your image and Photoshop will select the specific pixel you clicked on, along with every other pixel above and below it from top to bottom. Keep in mind that your selection will only be one pixel wide, so if you want your background to contain as many different colors from the photo as possible, you'll want to click on an area that has a good assortment of colors above and below it. I'm going to click on the right side of the girl's face (her left, our right), which will select quite a few different colors from top to bottom:
Step 4: Copy The Selection To A New Layer
Now that we have our single column of pixels selected, we need to copy it to a new layer. We can use the same keyboard shortcut we used a moment ago when we duplicated the Background layer. Just press Ctrl+J (Win) / Command+J (Mac) and Photoshop will copy the column of pixels to a new layer above "Layer 1":
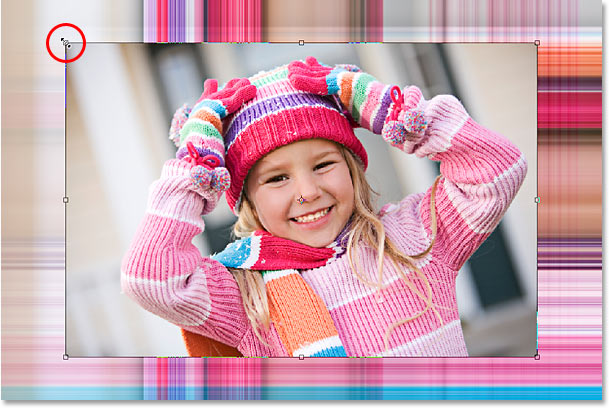
Step 5: Stretch The Column Across The Entire Image With Free Transform
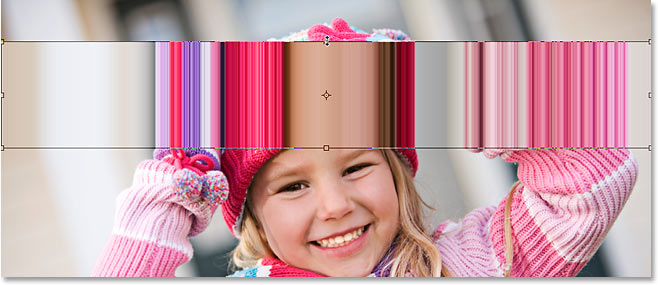
Here's where we make the first part of our background. We're going to take that single column of pixels and stretch it out to fill the entire image. For that, we'll use Photoshop's Free Transform command. Use the keyboard shortcut Ctrl+T (Win) / Command+T (Mac) to bring up the Free Transform box and handles around the column of pixels. Then simply move your mouse cursor close to the column until you see it turn into two small arrows, one pointing left and the other pointing right. Click your mouse and drag the column to the right. You'll see the column become a repeating pattern of color as you drag:
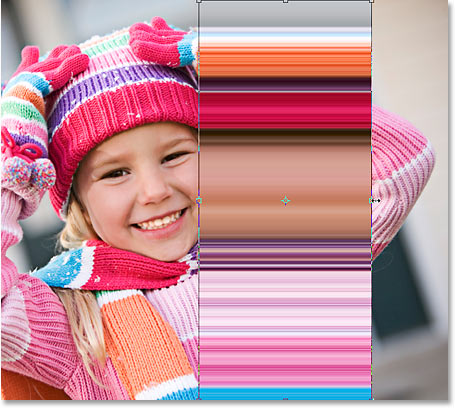
Continue dragging out the pattern until you reach the right side of the photo. Then move your mouse cursor to the left side of the Free Transform box, and then click and drag out the pattern across the left side of the image:
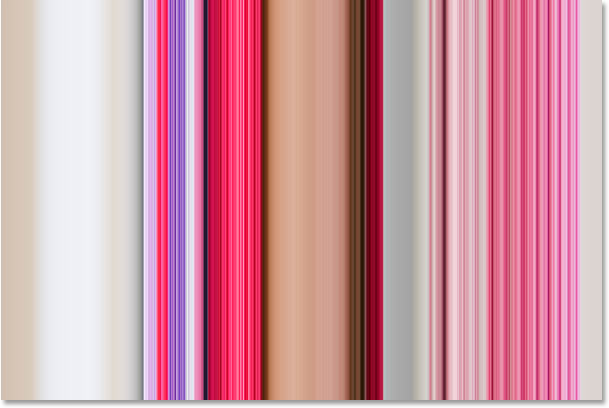
Once you've covered the entire photo with the pattern from left to right, press Enter (Win) / Return (Mac ) to accept the transformation and exit out of the Free Transform command. You're image should now look something like this:
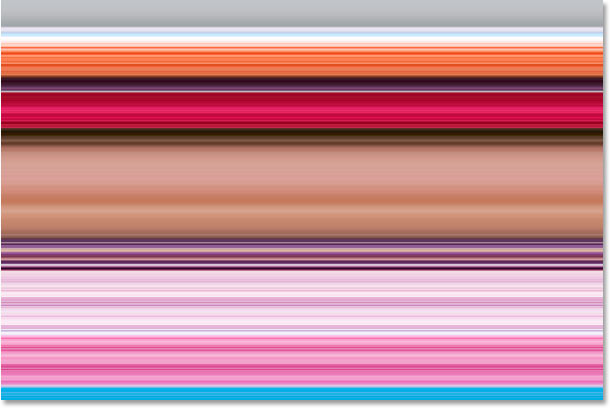
The first part of our background is done, and you could stop here if you wanted, but on the next page, we're going to continue on to make our background even more interesting.
Step 6: Hide The Horizontal Pattern Layer
We're going to repeat what we just did with the Single Column Marquee Tool, but this time we're going to use the Single Row Marquee Tool to create a vertical pattern. Before we can do that, though, we need to hide our horizontal pattern so we can see what we're doing. Click on the Layer Visibility icon (the eyeball) on the left of "Layer 2" in the Layers palette to temporarily hide the horizontal pattern from view:
The eyeball will disappear, leaving an empty square in its place, and the horizontal pattern will disappear in the document window, allowing us to see our photo once again.
Step 7: Select The Single Row Marquee Tool
Click on the Single Column Marquee Tool in the Tools palette and hold your mouse button down until the fly-out menu appears, then select the Single Row Marquee Tool from the list:
Step 8: Select "Layer 1"
We're going to use the Single Row Marquee Tool to select an entire row of pixels, but before we can do that, we need to have our photo selected. Currently, we have the horizontal pattern selected (even though we've hidden it from view). Our photo is on "Layer 1", so click on "Layer 1" in the Layers palette to select it:
Step 9: Click Inside The Image To Select A Single Row Of Pixels
Just as we did with the Single Column Marquee Tool, click anywhere inside the image to select a single row of pixels.
Photoshop will select the specific pixel you clicked on, as well as every other pixel in that row from left to right. Again, keep in mind that your selection will only be 1 pixel in height, so if you want your background to be as colorful as possible, you'll want to click on an area that will give you a good assortment of colors from left to right. I'm going to click on the girl's forehead:
Step 10: Copy The Selection To A New Layer
With our row of pixels selected, press Ctrl+J (Win) / Command+J (Mac) to copy the selection to a new layer, which will appear between "Layer 1" and the horizontal pattern layer in the Layers palette:
Step 11: Stretch The Row Across The Entire Image With Free Transform
Press Ctrl+T (Win) / Command+T (Mac) to once again bring up the Free Transform box and handles, then move your mouse just above the row until you see your cursor change into two arrows, one pointing up and the other pointing down. Click your mouse and drag the column up towards the top of the image. Just as before, the row will become a repeating pattern as you drag:
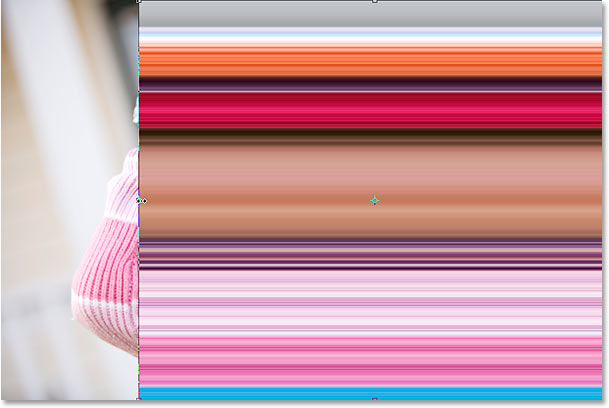
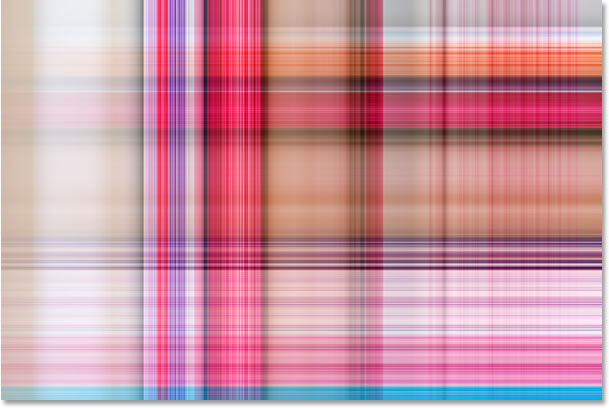
Continue dragging the pattern until you reach the top of the photo. Then drag the bottom of the row of pixels down to the bottom of the photo until the entire photo is covered by the pattern. Press Enter (Win) / Return (Mac) to accept the transformation and exit out of the Free Transform command. Your image should now look something like this:
At the moment, it looks like all we've done is replaced our initial horizontal pattern with a vertical pattern, but what we're going to do next is look at a few different ways to blend the two patterns together!
Step 12: Turn The Horizontal Pattern Layer Back On
Now that we have our two patterns, let's look at a few simple ways that we can blend them together to create an interesting background. First, we'll need to turn our horizontal pattern layer back on, so click inside the small empty square on the left of "Layer 2" in the Layers palette, which will bring back the eyeball icon and make the layer visible inside the document window once again:
Step 13: Select The Horizontal Pattern Layer
We also need to have the horizontal pattern layer selected, and simply making the layer visible again doesn't actually select it. We need to click on the layer in the Layers palette to select it:
Now that we have both of our patterns visible, let's look at how we can easily blend the two of them together.
Option 1: Lower The Opacity Of "Layer 2"
One way to quickly and easily blend the two patterns together is simply by lowering the opacity of the horizontal pattern layer. With "Layer 2" selected, go up to the Opacity option in the top right corner of the Layers palette and lower the opacity of the layer down to 50%:
You can adjust the opacity value to your liking to fine-tune the effect, but here's my background after blending the two patterns together by lowering the opacity of the top layer:
Option 2: Change The Blend Mode Of "Layer 2"
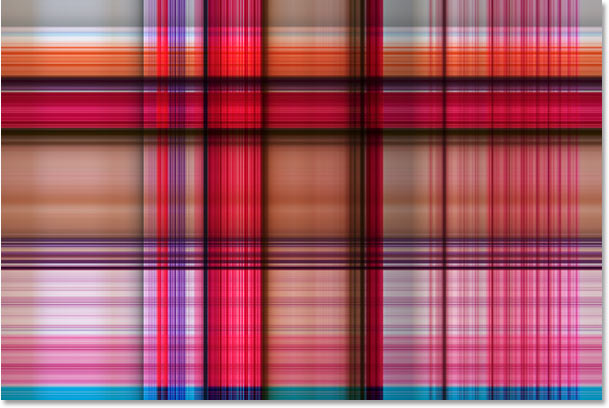
Another way to blend the two patterns together easily is by using layer blend modes. First, I'm going to set the opacity of "Layer 2" back up to a full 100%. Then I'll change the blend mode of the layer by going up to the blend mode option in the top left corner of the Layers palette (directly across from the Opacity option), clicking on the down-pointing arrow to the right of the word "Normal", and selecting a different blend-mode from the drop-down list. Try each of them to see what sort of effect you get. Here, I've changed my blend mode for "Layer 2" to Multiply:
The "Multiply" blend mode is one of the most commonly used blend modes when working in Photoshop, and here's the background effect I get with it. The background now appears darker than before with richer colors:
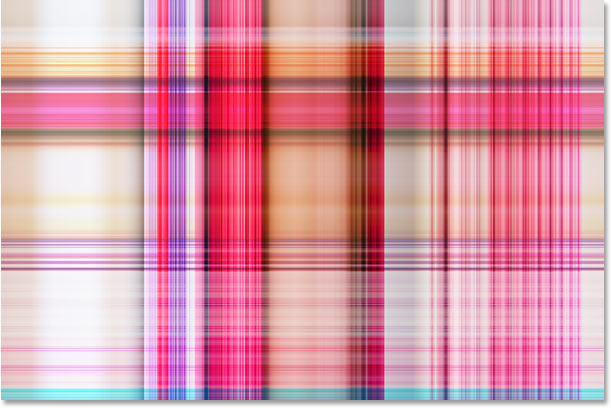
Here's another variation on the background effect, this time using a combination of the blend mode and opacity options. I've changed the blend mode to Hard Light and lowered the opacity to 50%:
Here's my new background effect:
Again, try each of the blend modes and keep an eye on your image in the document window to see what sort of effect each blend mode gives you.
Option 3: Use A Layer Mask
Let's look at a third way to blend the two patterns together. This time, we'll use a layer mask. First, I'll set my layer blend mode for "Layer 2" back to "Normal" and I'll increase the opacity back up to 100%. Then, to add a layer mask to "Layer 2", I'll click on the Layer Mask icon at the bottom of the Layers palette. Nothing will seem to have happened in the document window, but if we look in the Layers palette, we'll see a layer mask thumbnail to the right of the preview thumbnail for "Layer 2":
With the layer mask added, select the Gradient Tool from the Tools palette, or press the letter G to quickly select it with the keyboard shortcut:
With the Gradient Tool selected, right-click (Win) / Control-click (Mac) anywhere inside your image and select the black to white gradient from the gradient selection box that appears:
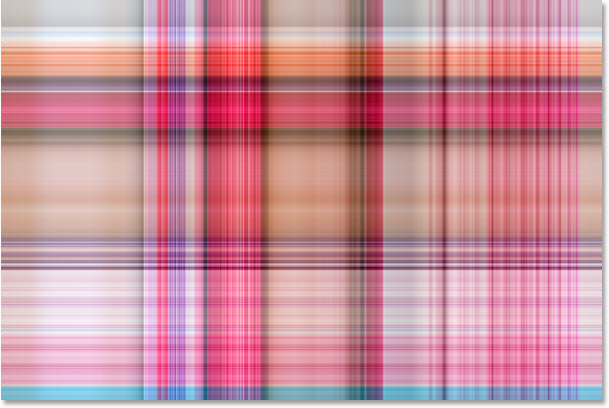
Let's use the layer mask to fade the patterns into each other diagonally. Click with the Gradient Tool somewhere up in the top left corner of the image, then drag your mouse down to the bottom right corner:
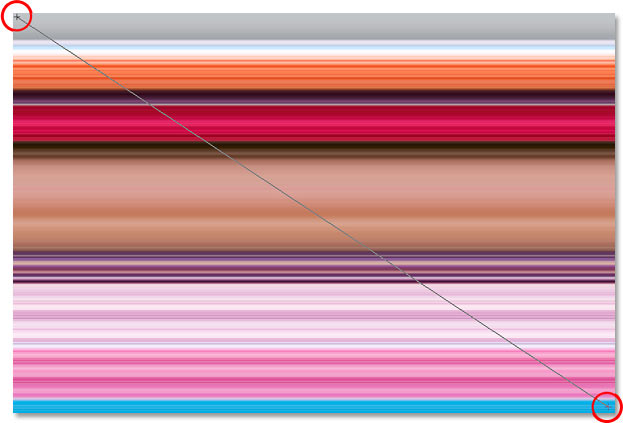
Release your mouse button and Photoshop adds the layer mask, blending the two patterns from the top left down to the bottom right:
Now that we've created our background effect, let's add it to the same photo we created it from! This part is optional of course, but if you want to follow along, here's how to do it.
Step 1: Move The Photo Layer To The Top Of The Layers Palette
Currently, our background is in front of our photo, which really isn't where you'd expect a background to be. We need to move our photo in front of the background, which means we need to move the photo's layer above our two pattern layers in the Layers palette. Our photo is on "Layer 1", so click on "Layer 1" in the Layers palette to select it:
Here's a quick keyboard shortcut for moving a layer directly to the top of the layer stack. With the layer selected, just press Shift+Ctrl+] (Win) / Shift+Command+] (Mac).
Photoshop will jump the layer above all the others and move it directly to the top of the Layers palette:

The photo now becomes visible in the document window once again.
Step 2: Resize The Photo With Free Transform
Press Ctrl+T (Win) / Command+T (Mac) to once again bring up Photoshop's Free Transform command, this time around the photo. Hold down Shift+Alt (Win) / Shift+Option (Mac) and drag any of the four corner handles inward to make the photo smaller, revealing the background behind it. Holding the "Shift" key constrains the width and height proportions of the photo as you drag, and holding "Alt/Option" tells Photoshop to resize the photo from its center:
Press Enter (Win) / Return (Mac) when you're happy with the size of your photo to accept the transformation and exit out of the Free Transform command.
Option 3: Add A Drop Shadow
To complete the effect, I'm going to add a drop shadow to my photo so it stands out a bit more against the background. Click on the Layer Styles icon at the bottom of the Layers palette and select Drop Shadow from the list of layer styles that appears:
This brings up Photoshop's Layer Style dialog box set to the Drop Shadow options in the middle column. Change the Angle of the drop shadow to 120° and lower the Opacity down to around 60%:
Click OK in the top right corner of the Layer Style dialog box to exit of it, and with that, we're done! Here, after adding a drop shadow to my photo, is the final result:

And there we have it! That's how to turn any photo into an interesting background with Photoshop! Visit our Photo Effects section for more Photoshop effects tutorials!